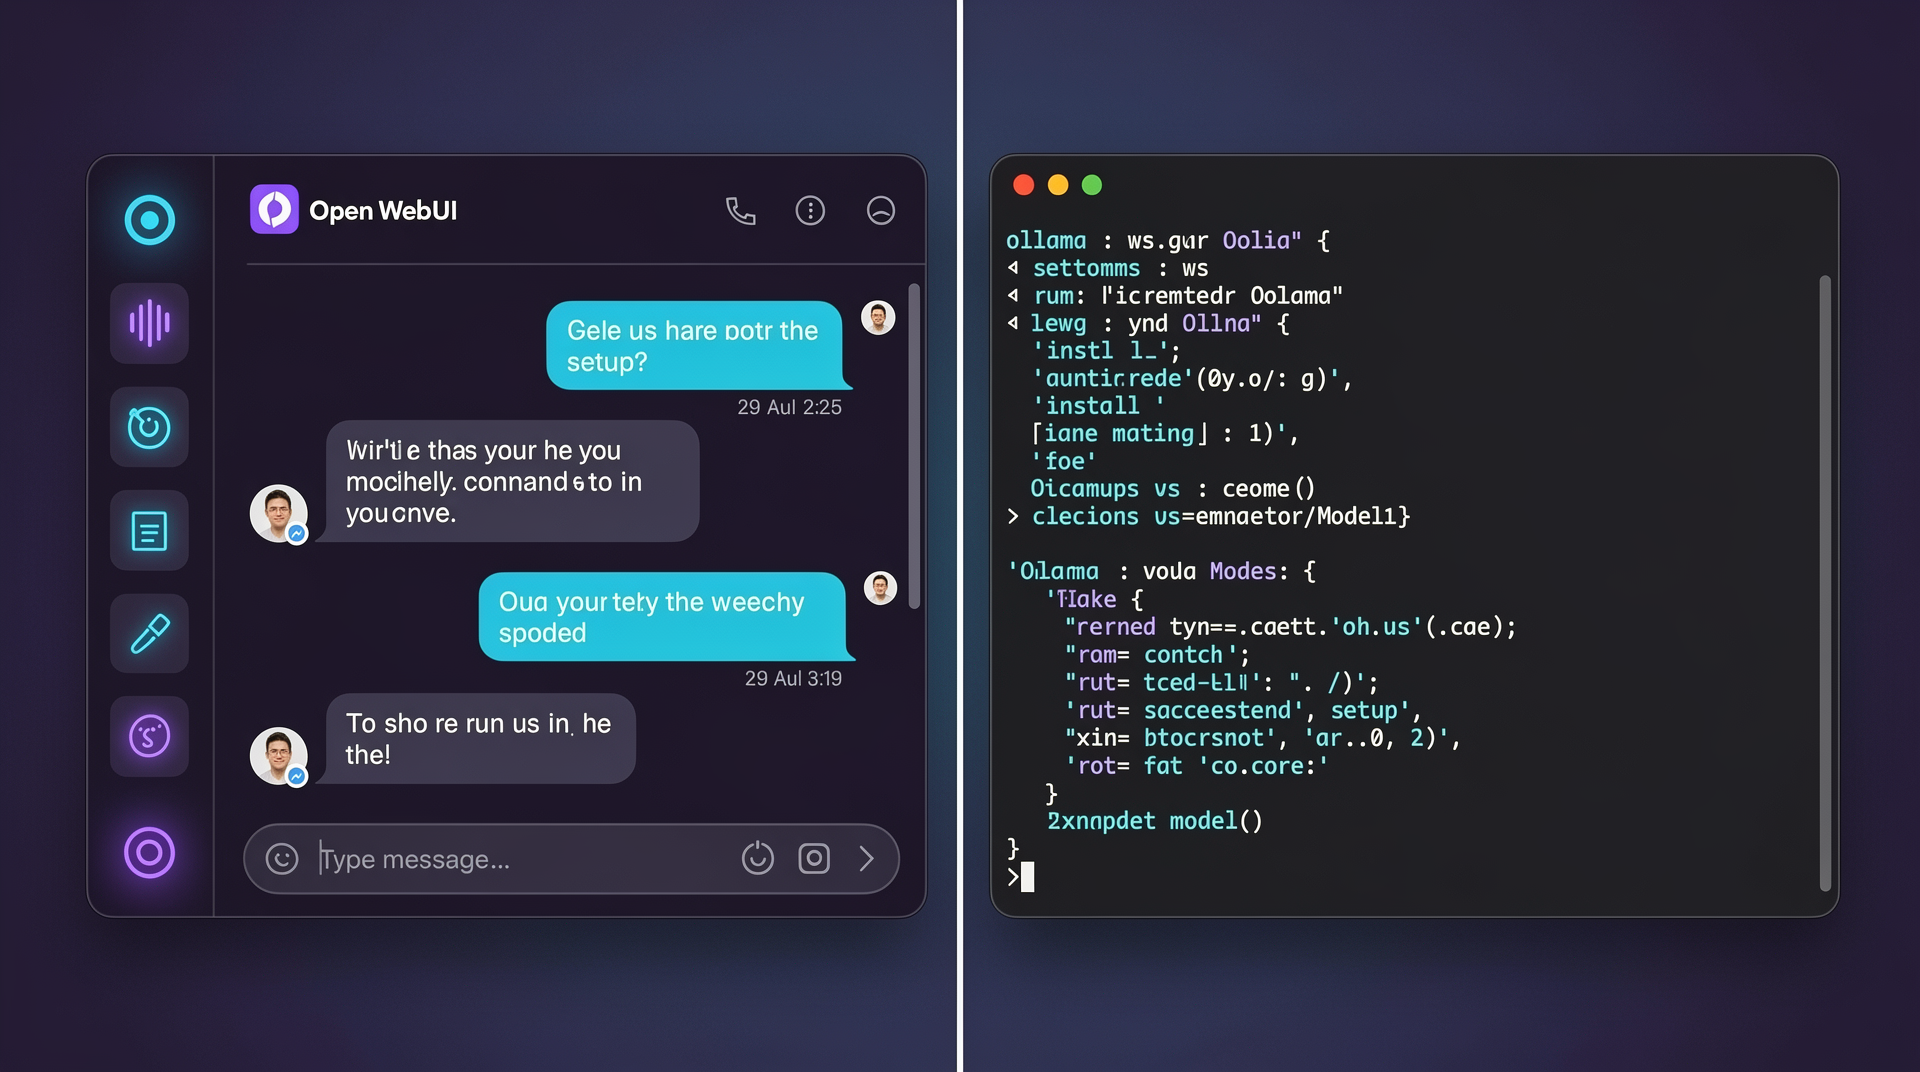
Open WebUI gives you a polished, ChatGPT-like interface for your local LLMs. Combined with Ollama as the backend, it provides a self-hosted AI chat experience with conversation history, model switching, document upload, user management, and more. Your data stays on your server unless you enable web search or connect external APIs (both covered below as options). This guide gets you from zero to a fully working setup in under 10 minutes.
Quick Start (2 Minutes)
If you just want to get running immediately:
# 1. Install Ollama
curl -fsSL https://ollama.com/install.sh | sh

# 2. Pull a model
ollama pull llama3.1:8b

# 3. Run Open WebUI
docker run -d -p 3000:8080 \
  --add-host=host.docker.internal:host-gateway \
  -v open-webui:/app/backend/data \
  --name open-webui \
  --restart unless-stopped \
  ghcr.io/open-webui/open-webui:main
Open http://localhost:3000 in your browser. Create an account (the first user is admin). Start chatting.
That’s it. If you want to understand and customize the setup, read on.
Prerequisites
- Docker installed and running
- Ollama installed (or plan to run it in Docker too)
- 8 GB RAM minimum (16 GB recommended)
- 5 GB disk space for Open WebUI + a model
Install Docker
If Docker isn’t installed:
# Linux
curl -fsSL https://get.docker.com | sh
sudo usermod -aG docker $USER
newgrp docker

# macOS / Windows
# Download Docker Desktop from docker.com
Install Ollama
# Linux / macOS
curl -fsSL https://ollama.com/install.sh | sh

# Windows
# Download from ollama.com/download

# Pull your first model
ollama pull llama3.1:8b
Method 1: Docker Run (Simplest)
Ollama on Host + Open WebUI in Docker
This is the most common setup: Ollama runs natively on your machine, and Open WebUI runs in Docker.
docker run -d \
  -p 3000:8080 \
  --add-host=host.docker.internal:host-gateway \
  -v open-webui:/app/backend/data \
  --name open-webui \
  --restart unless-stopped \
  ghcr.io/open-webui/open-webui:main
What each flag does:
-d: Run in background-p 3000:8080: Expose on port 3000--add-host=host.docker.internal:host-gateway: Allow container to reach host’s Ollama-v open-webui:/app/backend/data: Persist data (conversations, settings)--restart unless-stopped: Auto-restart on boot
Both in Docker (GPU)
Run both Ollama and Open WebUI in Docker, with GPU access:
# Start Ollama container with GPU
docker run -d \
  --gpus all \
  -v ollama:/root/.ollama \
  -p 11434:11434 \
  --name ollama \
  --restart unless-stopped \
  ollama/ollama

# Start Open WebUI, connecting to Ollama container
docker run -d \
  -p 3000:8080 \
  -e OLLAMA_BASE_URL=http://ollama:11434 \
  -v open-webui:/app/backend/data \
  --name open-webui \
  --link ollama:ollama \
  --restart unless-stopped \
  ghcr.io/open-webui/open-webui:main

# Pull a model
docker exec ollama ollama pull llama3.1:8b
Method 2: Docker Compose (Recommended)
Docker Compose manages both services together and is easier to maintain.
Basic Compose Stack
Create a docker-compose.yml file:
services:
  ollama:
    image: ollama/ollama
    container_name: ollama
    volumes:
      - ollama_data:/root/.ollama
    ports:
      - "11434:11434"
    deploy:
      resources:
        reservations:
          devices:
            - driver: nvidia
              count: all
              capabilities: [gpu]
    restart: unless-stopped

  open-webui:
    image: ghcr.io/open-webui/open-webui:main
    container_name: open-webui
    ports:
      - "3000:8080"
    environment:
      - OLLAMA_BASE_URL=http://ollama:11434
    volumes:
      - webui_data:/app/backend/data
    depends_on:
      - ollama
    restart: unless-stopped

volumes:
  ollama_data:
  webui_data:
# Start everything
docker compose up -d
# Pull a model
docker exec ollama ollama pull llama3.1:8b
# Check status
docker compose ps
# View logs
docker compose logs -f open-webuiCPU-Only Compose Stack
If you don’t have an NVIDIA GPU, remove the GPU reservation:
services:
  ollama:
    image: ollama/ollama
    container_name: ollama
    volumes:
      - ollama_data:/root/.ollama
    ports:
      - "11434:11434"
    restart: unless-stopped

  open-webui:
    image: ghcr.io/open-webui/open-webui:main
    container_name: open-webui
    ports:
      - "3000:8080"
    environment:
      - OLLAMA_BASE_URL=http://ollama:11434
    volumes:
      - webui_data:/app/backend/data
    depends_on:
      - ollama
    restart: unless-stopped

volumes:
  ollama_data:
  webui_data:
Method 3: pip Install (No Docker)
pip install open-webui

# Start with default settings (connects to localhost:11434)
open-webui serve

# Custom port and host
open-webui serve --port 8080 --host 0.0.0.0
Initial Configuration
First Login
- Open
http://localhost:3000in your browser - Click Sign Up
- Enter your name, email, and password
- The first user automatically becomes the admin
Pull Models
You can pull models directly from the Open WebUI interface:
- Click the model dropdown in the chat area
- Enter a model name (e.g.,
llama3.1:8b) in the search field - Click the download icon to pull it
Or from the command line:
# Essential models
docker exec ollama ollama pull llama3.1:8b          # General chat
docker exec ollama ollama pull qwen2.5-coder:7b     # Coding
docker exec ollama ollama pull nomic-embed-text      # Embeddings (for RAG)

# Optional
docker exec ollama ollama pull llama3.1:70b          # Large model (48+ GB VRAM)
docker exec ollama ollama pull llama3.2-vision:11b   # Vision model
docker exec ollama ollama pull phi3:mini             # Small and fast
Admin Settings
Navigate to Admin Panel (gear icon or /admin):
General Settings:
- Default model for new users
- System prompt
- Enable/disable features
User Management:
- View all registered users
- Assign roles (admin, user)
- Enable/disable self-registration
- Set allowed email domains
Model Access:
- Control which models each user can access
- Set default models per user group
Model Configuration
Custom Model Profiles
Create model profiles with specific system prompts and parameters:
- Go to Workspace > Models
- Click Create a Model
- Configure:
- Name: “Code Assistant”
- Base Model: qwen2.5-coder:7b
- System Prompt: “You are an expert programmer…”
- Parameters: temperature 0.1, context length 8192
Model Parameters
In any chat, click the model settings icon to adjust:
| Parameter | Default | Description |
|---|---|---|
| Temperature | 0.7 | Higher = more creative, lower = more focused |
| Top P | 0.9 | Nucleus sampling threshold |
| Top K | 40 | Limit vocabulary for each token |
| Repeat Penalty | 1.1 | Reduce repetition |
| Context Length | 2048 | How much conversation history to include |
| Max Tokens | 1024 | Maximum response length |
Document Upload and RAG
Open WebUI has built-in RAG (Retrieval-Augmented Generation) for chatting with your documents.
Upload Documents in Chat
- Click the + button in the chat input area
- Select Upload Files
- Choose PDF, TXT, DOCX, or other supported files
- The file is chunked, embedded, and indexed locally
- Ask questions about the uploaded content
Knowledge Collections
Create persistent document collections:
- Go to Workspace > Knowledge
- Click Create Knowledge Base
- Upload documents to the collection
- In a chat, type
#and select the knowledge base to include it as context
RAG Configuration
Go to Admin Panel > Settings > Documents:
- Chunk Size: Default 1000 characters (adjust based on content type)
- Chunk Overlap: Default 200 characters
- Embedding Model: Set to
nomic-embed-text(pull it first in Ollama) - Top K: Number of chunks to retrieve (default 4)
# Make sure embedding model is available
docker exec ollama ollama pull nomic-embed-text
User Management
Multi-User Setup
Open WebUI supports multiple users out of the box:
Admin controls:
- Enable/disable new user registration
- Require email verification
- Set allowed email domains (e.g.,
@yourcompany.com) - Assign user roles (admin, user, pending)
- View and manage user sessions
Per-user features:
- Private conversation history
- Personal settings and preferences
- Custom model profiles
- Uploaded documents (private by default)
Disable Self-Registration
For team deployments, you may want to control who can sign up:
# In docker-compose.yml
environment:
  - ENABLE_SIGNUP=false  # Disable self-registration
  - WEBUI_AUTH=true       # Require authentication
Then create users manually via the Admin Panel.
SSO / OIDC Integration
For enterprise deployments with single sign-on:
environment:
  - ENABLE_OAUTH_SIGNUP=true
  - OAUTH_MERGE_ACCOUNTS_BY_EMAIL=true
  - OAUTH_CLIENT_ID=your-client-id
  - OAUTH_CLIENT_SECRET=your-client-secret
  - OPENID_PROVIDER_URL=https://accounts.google.com/.well-known/openid-configuration
  # Or Azure AD, Okta, Keycloak, etc.
Plugins and Functions
Open WebUI supports custom functions (tools and filters) that extend the AI’s capabilities.
Built-in Tools
Open WebUI includes several built-in tools:
- Web Search: Search the internet from within chat
- Image Generation: Generate images (requires compatible backend)
- Code Execution: Run Python code in sandboxed environment
Installing Community Functions
- Go to Workspace > Functions
- Click Import or browse the community library
- Enable the function in your chat settings
Example: Web Search Tool
# Enable web search in docker-compose.yml
environment:
  - RAG_WEB_SEARCH_ENABLED=true
  - RAG_WEB_SEARCH_ENGINE=searxng
  - SEARXNG_QUERY_URL=http://searxng:8080/search?q=<query>
Add SearXNG to your Docker Compose stack:
services:
  searxng:
    image: searxng/searxng:latest
    container_name: searxng
    ports:
      - "8080:8080"
    volumes:
      - searxng_data:/etc/searxng
    restart: unless-stopped

volumes:
  searxng_data:
HTTPS Reverse Proxy
For production or team use, serve Open WebUI over HTTPS.
Option A: Caddy (Simplest)
Caddy automatically handles SSL certificates:
# Add to docker-compose.yml
  caddy:
    image: caddy:alpine
    container_name: caddy
    ports:
      - "80:80"
      - "443:443"
    volumes:
      - ./Caddyfile:/etc/caddy/Caddyfile
      - caddy_data:/data
    depends_on:
      - open-webui
    restart: unless-stopped

volumes:
  caddy_data:
# Caddyfile
ai.yourdomain.com {
reverse_proxy open-webui:8080
}Option B: Nginx with Let’s Encrypt
  nginx:
    image: nginx:alpine
    container_name: nginx
    ports:
      - "80:80"
      - "443:443"
    volumes:
      - ./nginx.conf:/etc/nginx/conf.d/default.conf:ro
      - /etc/letsencrypt:/etc/letsencrypt:ro
    depends_on:
      - open-webui
    restart: unless-stopped
# nginx.conf
server {
listen 80;
server_name ai.yourdomain.com;
return 301 https://$host$request_uri;
}
server {
listen 443 ssl;
server_name ai.yourdomain.com;
ssl_certificate /etc/letsencrypt/live/ai.yourdomain.com/fullchain.pem;
ssl_certificate_key /etc/letsencrypt/live/ai.yourdomain.com/privkey.pem;
client_max_body_size 50M;
location / {
proxy_pass http://open-webui:8080;
proxy_set_header Host $host;
proxy_set_header X-Real-IP $remote_addr;
proxy_set_header X-Forwarded-For $proxy_add_x_forwarded_for;
proxy_set_header X-Forwarded-Proto $scheme;
proxy_http_version 1.1;
proxy_set_header Upgrade $http_upgrade;
proxy_set_header Connection "upgrade";
proxy_read_timeout 300s;
}
}Generate certificates:
sudo apt install certbot
sudo certbot certonly --standalone -d ai.yourdomain.com
Updating Open WebUI
# Docker Compose
docker compose pull open-webui
docker compose up -d open-webui

# Docker Run
docker pull ghcr.io/open-webui/open-webui:main
docker stop open-webui
docker rm open-webui
docker run -d -p 3000:8080 \
  --add-host=host.docker.internal:host-gateway \
  -v open-webui:/app/backend/data \
  --name open-webui \
  --restart unless-stopped \
  ghcr.io/open-webui/open-webui:main
Your data persists in the Docker volume, so updates don’t lose conversations or settings.
Backup and Restore
Backup
# Backup Open WebUI data
docker run --rm \
  -v open-webui:/source:ro \
  -v $(pwd)/backups:/backup \
  alpine tar czf /backup/open-webui-$(date +%Y%m%d).tar.gz -C /source .

# Backup Ollama models
docker run --rm \
  -v ollama_data:/source:ro \
  -v $(pwd)/backups:/backup \
  alpine tar czf /backup/ollama-$(date +%Y%m%d).tar.gz -C /source .
Restore
# Restore Open WebUI data
docker run --rm \
  -v open-webui:/target \
  -v $(pwd)/backups:/backup \
  alpine tar xzf /backup/open-webui-20260408.tar.gz -C /target
Export Conversations
Individual users can export their conversations:
- Go to Settings > General
- Click Export All Chats
- Download as JSON
Troubleshooting
Open WebUI Can’t Connect to Ollama
# Check if Ollama is running
curl http://localhost:11434/api/tags

# If using Docker-to-host connection
# Make sure --add-host=host.docker.internal:host-gateway is set

# If using Docker-to-Docker
# Make sure OLLAMA_BASE_URL=http://ollama:11434 is set
# and both containers are on the same Docker network

# Check Open WebUI logs
docker logs open-webui 2>&1 | tail -20
Models Not Showing Up
# Check if models are pulled
docker exec ollama ollama list

# If empty, pull a model
docker exec ollama ollama pull llama3.1:8b

# Refresh models in Open WebUI
# Click the refresh icon next to the model dropdown
Slow Performance
# Check if GPU is being used
docker exec ollama nvidia-smi  # Should show GPU info

# If Ollama is running on CPU, verify GPU passthrough
docker run --rm --gpus all nvidia/cuda:12.6.0-base-ubuntu24.04 nvidia-smi
Reset Admin Password
# Access the Open WebUI container
docker exec -it open-webui bash

# Use the built-in admin reset (check current docs for exact command)
# Or delete the data volume and re-register:
docker compose down
docker volume rm open-webui  # WARNING: deletes all data
docker compose up -d
Feature Highlights
Here’s a summary of what Open WebUI offers beyond basic chat:
| Feature | Description |
|---|---|
| Multi-model chat | Switch between models mid-conversation |
| Model comparison | Chat with two models side-by-side |
| Conversation branching | Fork conversations to explore different paths |
| Document RAG | Upload and chat with documents |
| Knowledge bases | Persistent document collections |
| Web search | Search the internet from chat |
| Image generation | Generate images with compatible backends |
| Voice input | Speak instead of typing |
| Code highlighting | Syntax-highlighted code with copy button |
| Markdown rendering | Full markdown support in responses |
| Export/import | Export conversations as JSON |
| API access | OpenAI-compatible API for external tools |
| Mobile responsive | Works on phones and tablets |
| Dark/light theme | System-aware theme switching |
| Keyboard shortcuts | Power user efficiency |
| Custom prompts | Saved prompt templates |
Next Steps
- Choose the right model: Model selection guide
- Build a RAG chatbot: Local RAG Chatbot tutorial
- Set up code assistance: Local AI Code Assistant
- Deploy for your organization: Enterprise Local AI
- Containerize everything: Docker and Kubernetes guide